
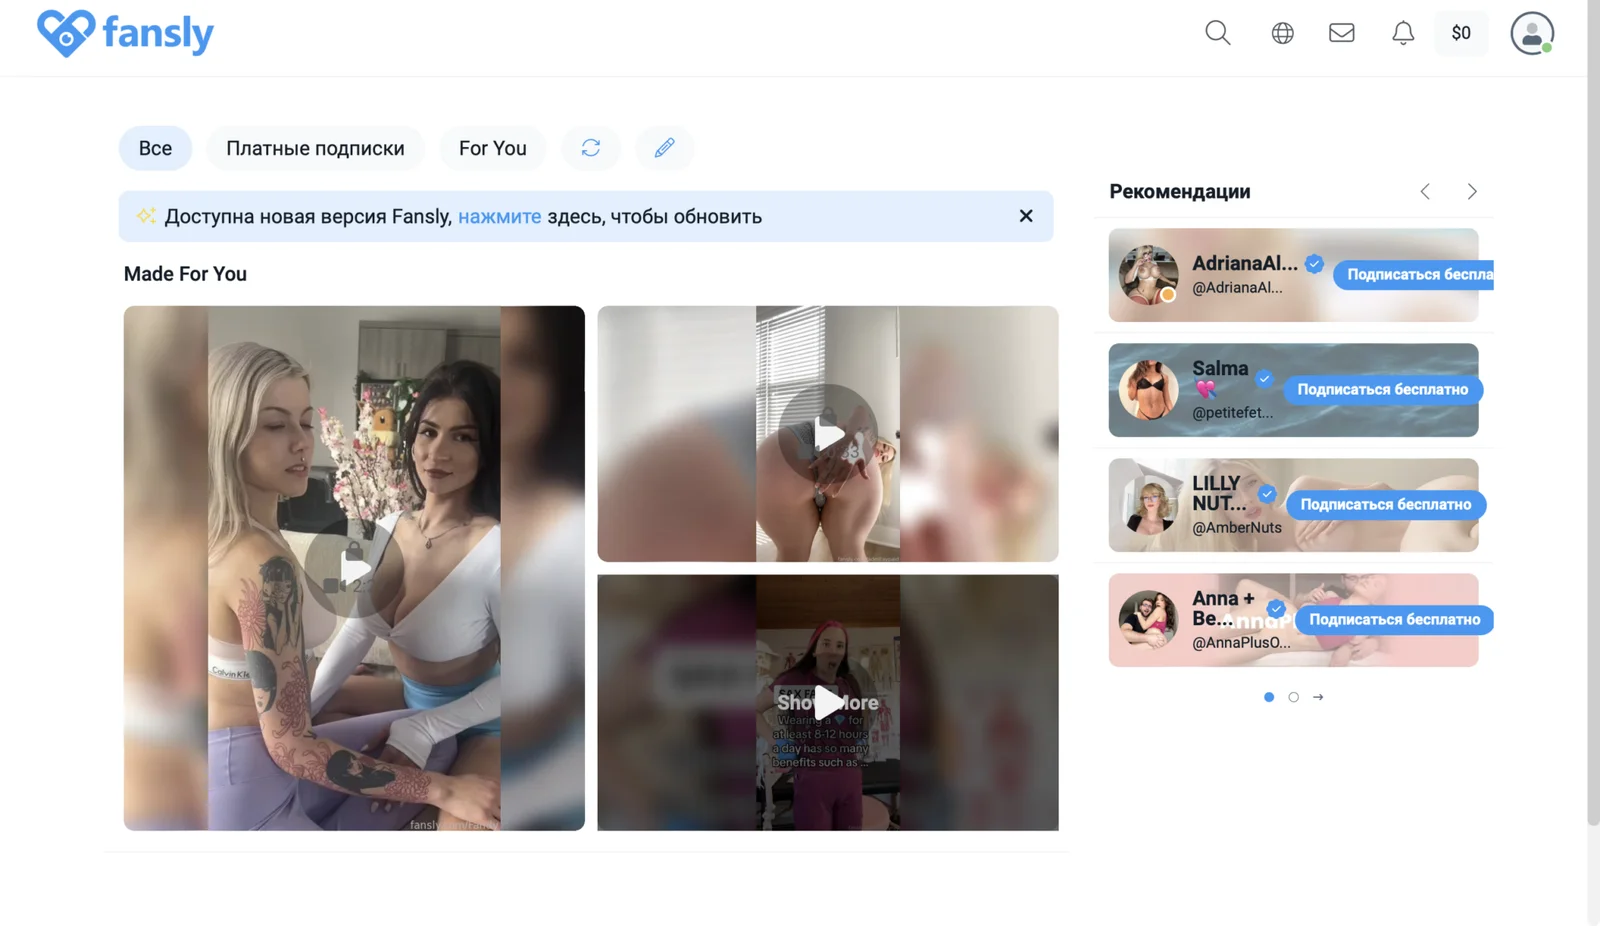
Fansly is a popular platform for monetizing subscription content.
To fully use all the features of Fansly, you must go through the verification process. In this article, we will take a detailed look at how to confirm an account on Fansly, the application processing time, what to do if the application is rejected, and what actions to take after verification.
Account verification on Fansly is a mandatory step for all users who want to monetize their content. To confirm your identity, you need to provide documents and personal data. This is necessary to ensure the safety of both content creators and their subscribers.
How to verify your account on Fansly
Account registration
The first step is to register on Fansly. To do this, go to the Fansly website and create an account by entering your email and password. You will receive a registration confirmation email, which you must open and follow the instructions to activate your account.
Submitting an application for verification
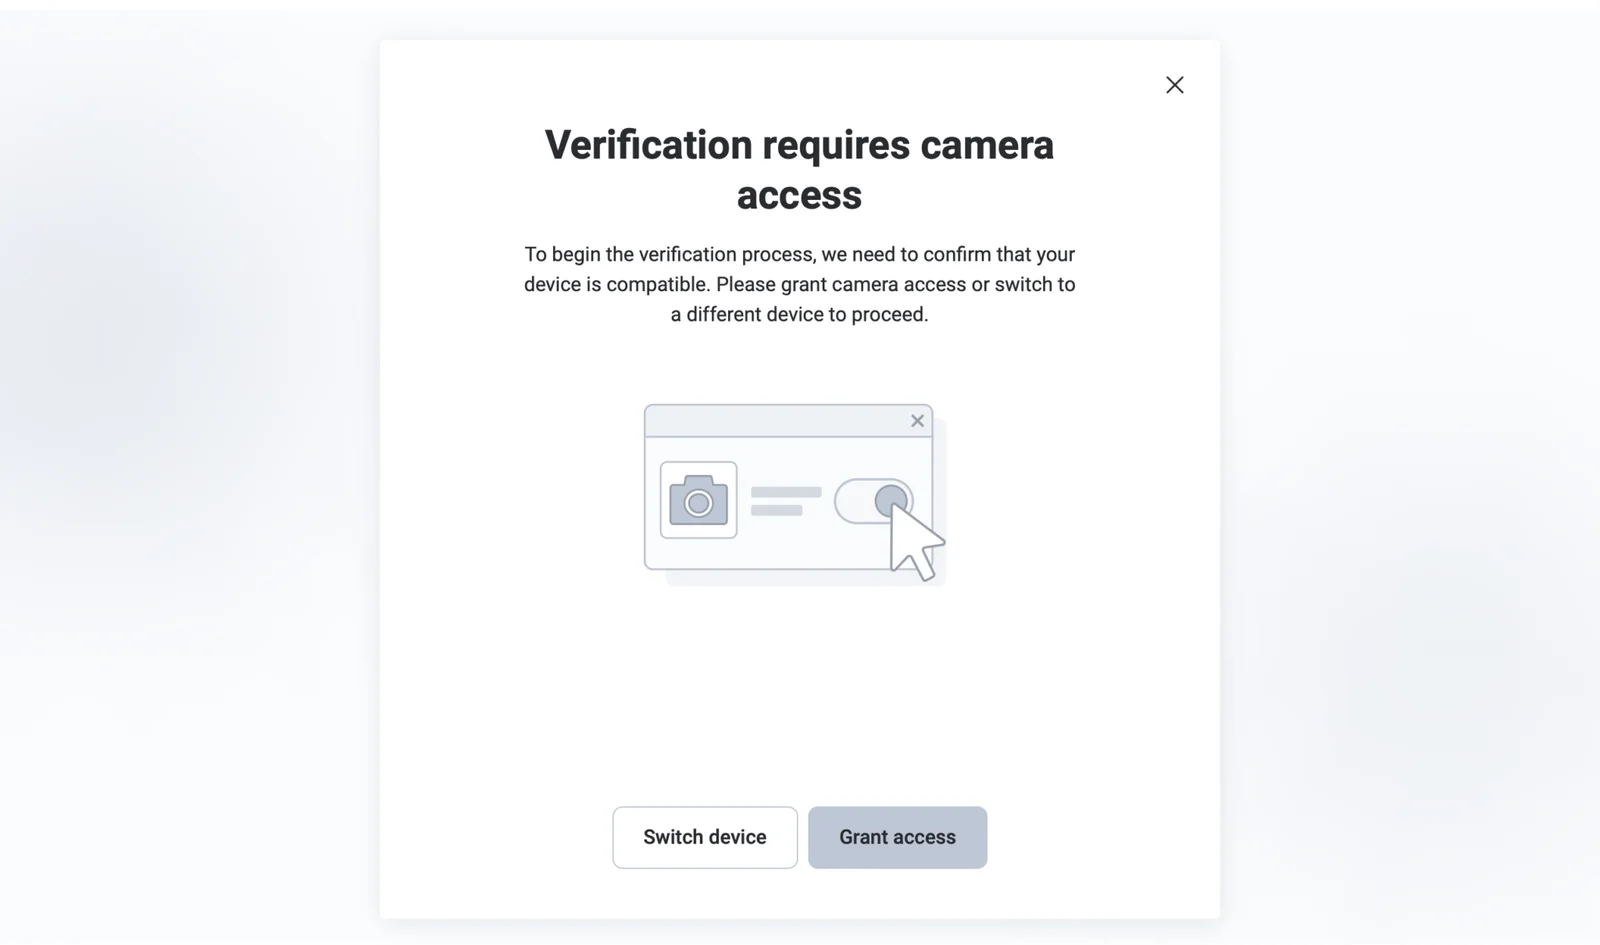
After activating your account, log into your profile and go to the settings section. There you will find the “Verification” option. Click on it and follow the instructions. You will need to upload the following documents:
- Photo of passport or other identification: The document must be valid and clearly visible.
- ID Selfie: In this photo, you should be holding your passport or ID card close to your face.
- Proof of Address: This can be a utility bill, bank statement, or other proof of address.
Filling out personal information
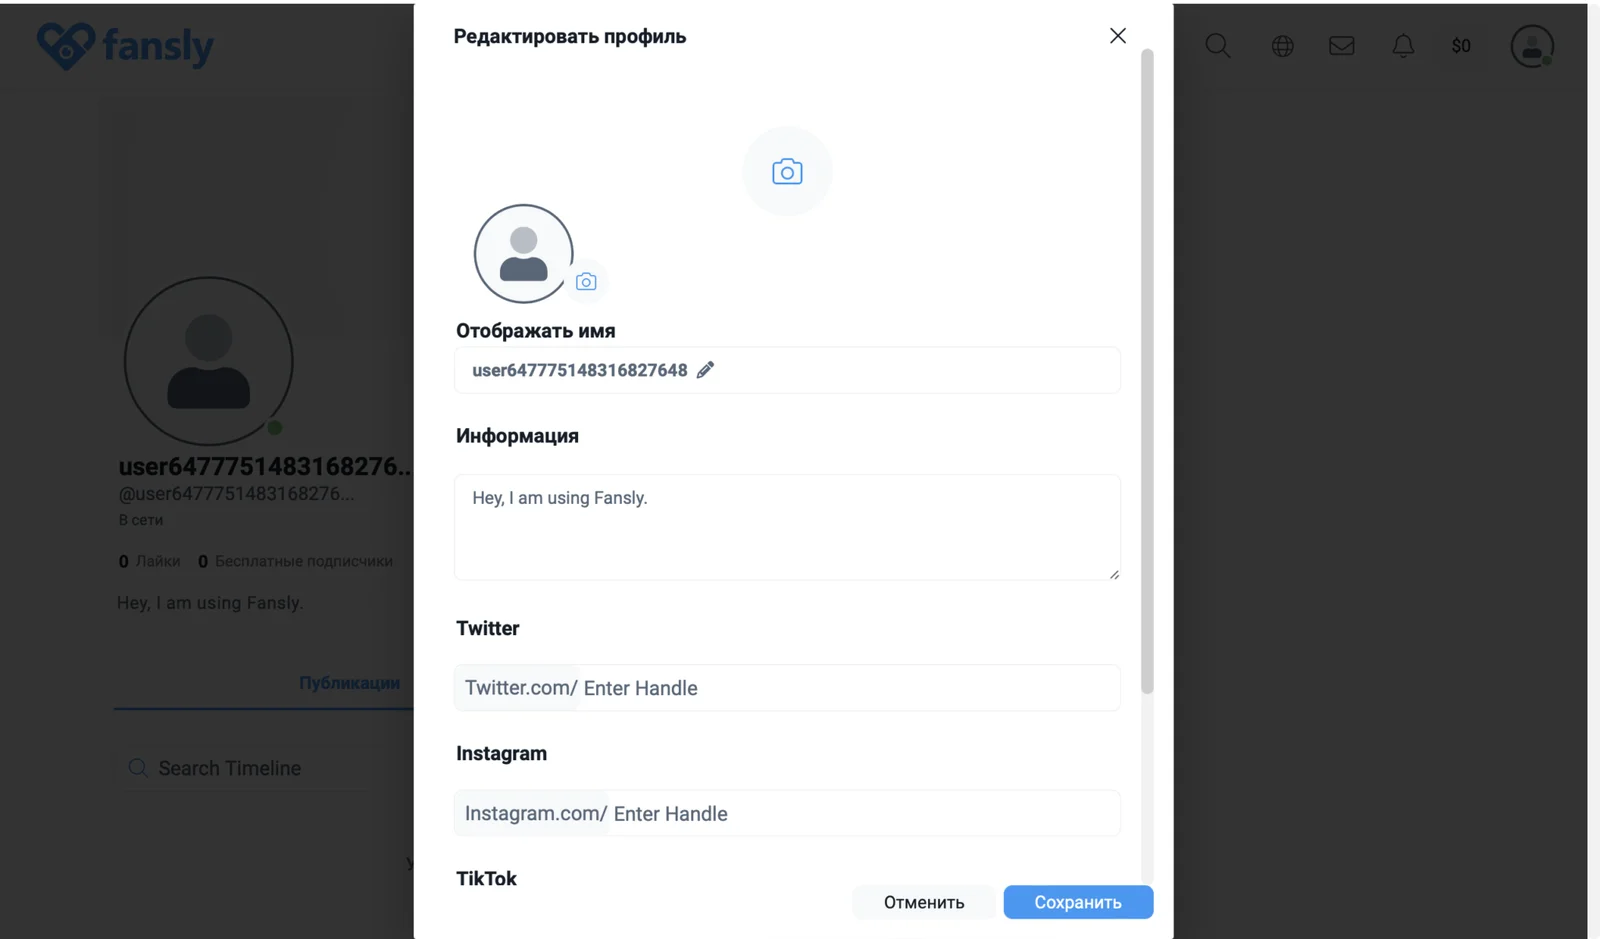
After uploading the documents, you will be required to fill out personal information: full name, date of birth, residential address and contact details.
Processing time for verification application
The process of processing an application for verification can take from several hours to several days. Usually it takes from 24 to 72 hours. In rare cases, if additional verification is required, the process may take longer. You will receive an email notification when the review is complete.
What to do if your application was rejected
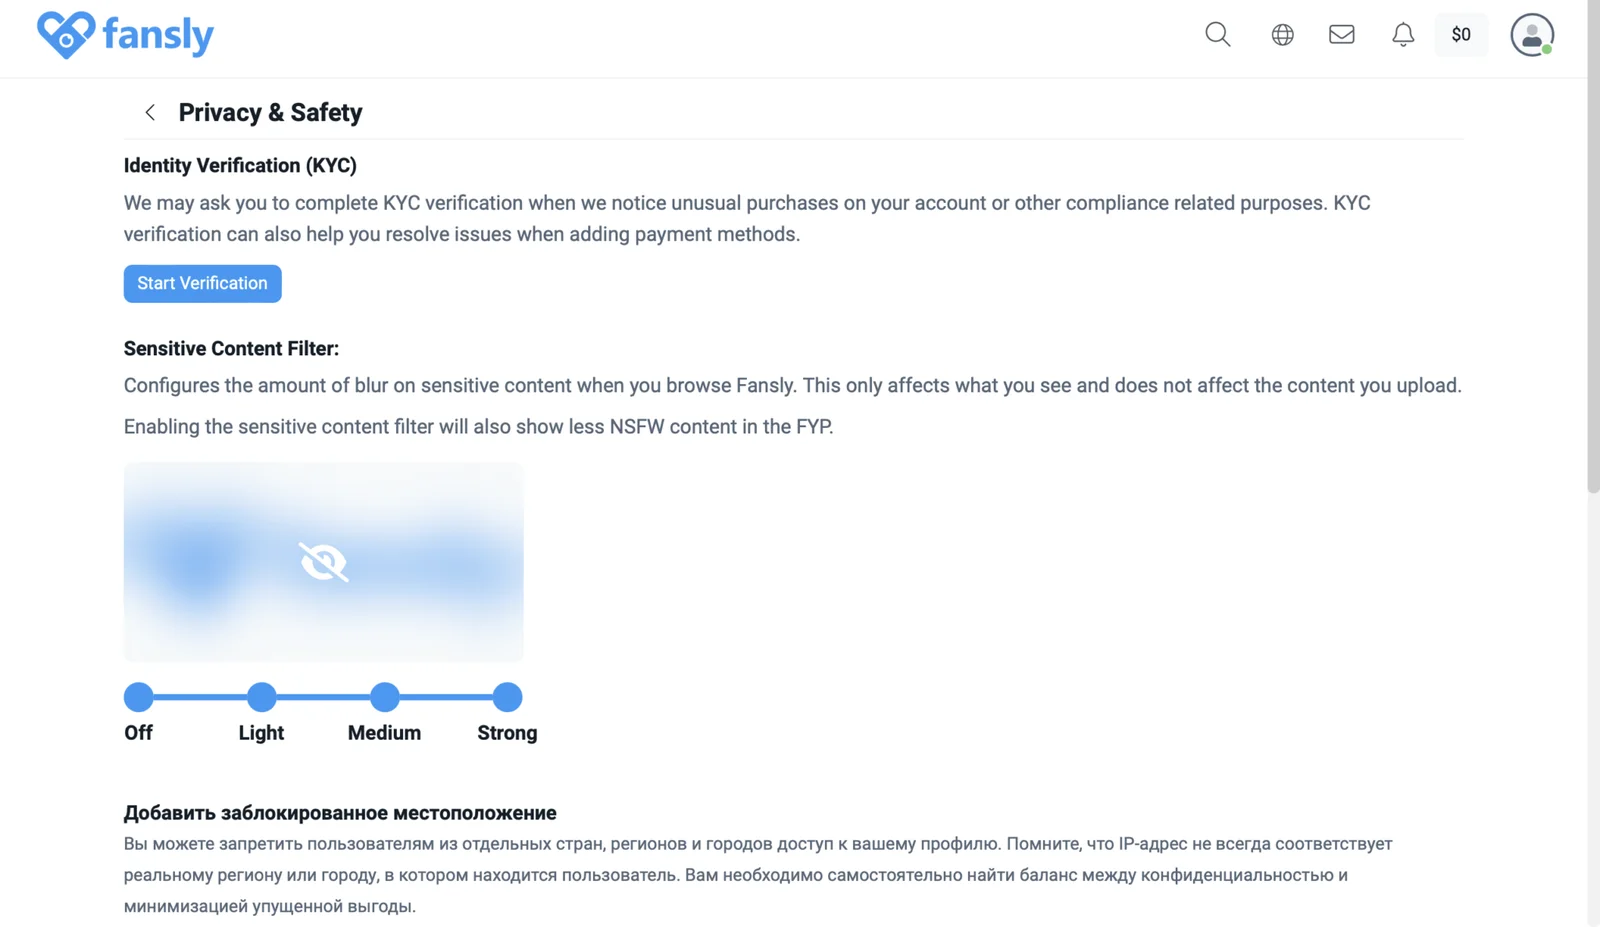
If your verification application has been rejected, don't panic. First check the reason for refusal, which will be indicated in the notification. Here are some common reasons for failure and how to fix them:
- Fuzzy or blurry document photos: Make sure all documents are clear and re-upload them.
- Data inconsistency: check that all data in the application form matches the data in the documents.
- Invalid document: Make sure the document provided is a valid ID.
Once all errors have been resolved, resubmit your verification request.
Actions after verification
After successful account verification, you will receive a notification by email. You can now fully enjoy all of Fansly's features, including content monetization and access to advanced profile settings.
Profile setup
Fill out information about yourself in your profile, add a description and photos to attract followers. The more detailed and interesting your profile, the greater your chances of attracting an audience.
Subscription and content setup
Set your subscription price and download your first content. Plan to update your content regularly to keep your subscribers interested.
Interaction with subscribers
Actively interact with subscribers through private messages and comments. The more attention you pay to your audience, the more loyal they will be.
Features of a verified account
Having a verified account on Fansly opens up many possibilities. Firstly, it is content monetization, which allows you to earn money from subscriptions, tips and paid posts. Secondly, access to advanced features, including profile analytics, privacy settings and other useful tools. Third, increased trust: verified accounts inspire more trust among users, which helps grow your audience faster. Lastly is platform support: verified accounts receive priority support from the Fansly team.
The verification process on Fansly may seem complicated, but it is an important step to ensure security and trust on the platform. By following this guide, you can successfully pass verification and start making money from your content. Good luck!